Hello friends, welcome to today’s video/blog post!
In this guide, we will walk through the process of loading data into Dynamics 365 Finance and Operations (D365 F&O). This step is typically performed twice:
- During initial environment configuration – before starting the User Acceptance Testing (UAT).
- Before going live – to ensure all required business data is in place.
Data Collection and Preparation
After analyzing business requirements, the Functional Consultant collects data from Business Users. There are two common approaches for preparing data:
- Business Users Provide Data in Excel
- The business users share their data in Excel files.
- The functional consultant then transforms it into the required D365 template for import.
- Predefined D365 Templates
- The functional consultant exports predefined Excel templates from D365 F&O.
- These templates are shared with business users for data entry.
- Once completed, the business users upload the data into the system.
Excel Expertise is Essential
From my experience, strong Excel skills are crucial when handling data imports. You’ll often need to:
- Remove duplicates.
- Replace lookup values with valid data.
- Ensure data is formatted correctly before uploading.
However, delays can occur due to confusion over responsibility. Business users may not provide data in the required format, while functional consultants may hesitate to modify it. This can result in delays of two weeks to a month in some cases.
Data Import Methods in D365
Microsoft provides two ways to import data into D365 Finance and Operations, both based on the D365 Data Entity Framework:
- Data Entity Framework – Used to import/export structured data.
- Excel Add-in – Allows direct data updates from Excel into D365.
Step-by-Step Guide to Import Data
In this walkthrough, we will use both methods to import data into D365 F&O.
Step 1: Exporting a Data Template
To get started, we first need to export a data template from D365. Here’s how:
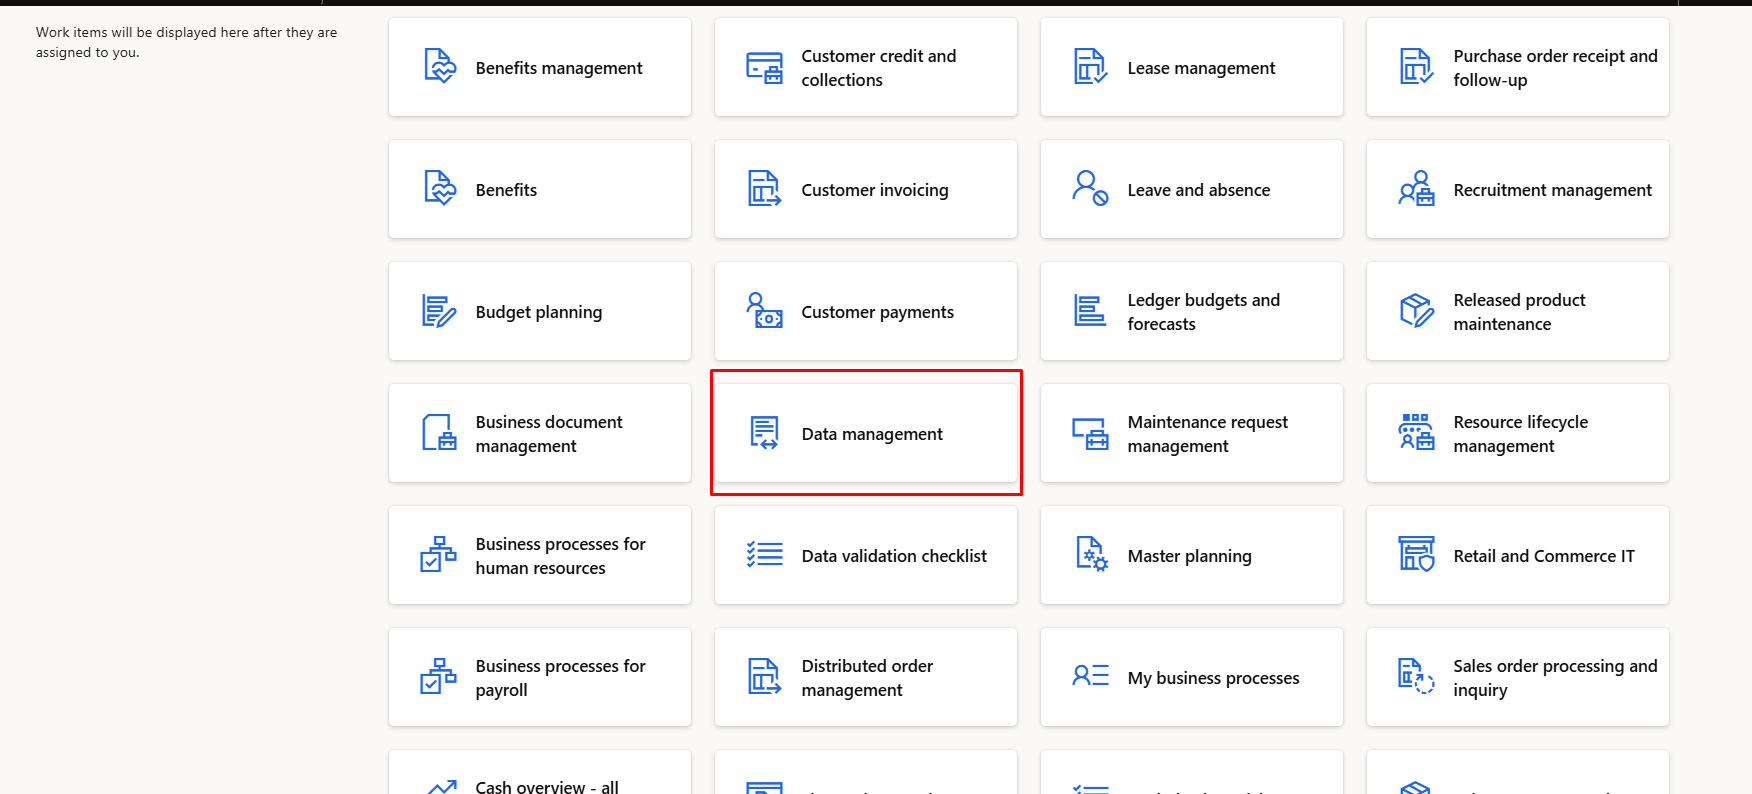
- Navigate to the Dashboard.
- Click on Data Management.
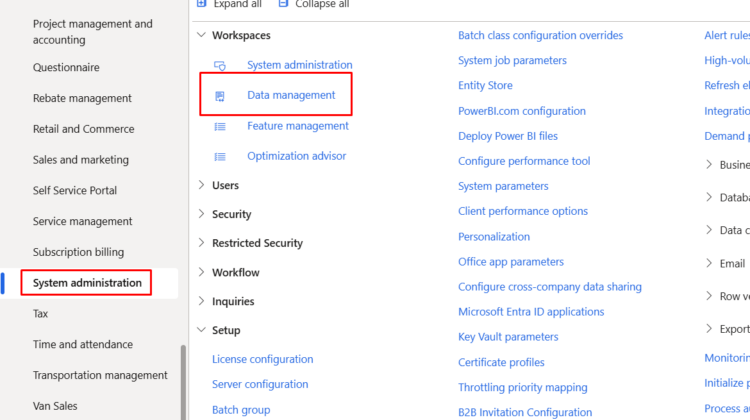
Second way to go System administrator and there you can go Data Management
System Administration > Workspaces > Data management.

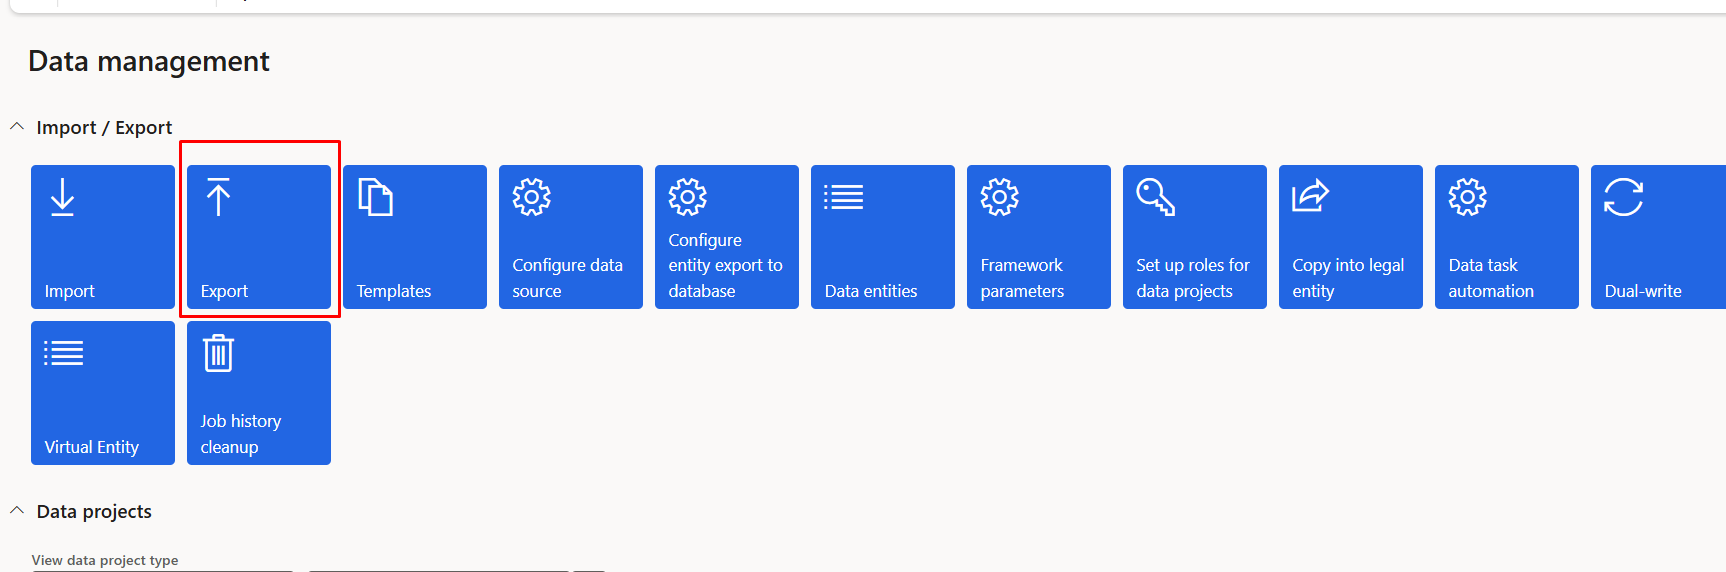
From Title Click and select Export
Create a new group and add vendor Info. and then click on Add entity
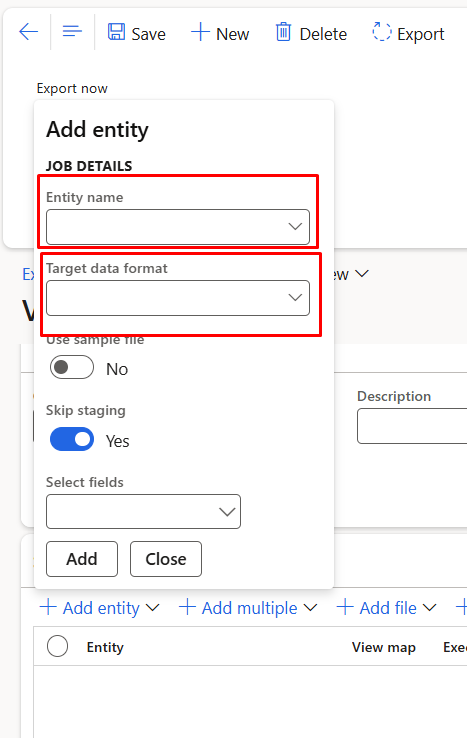
Search and select Vendors v2 in entity name and then select Excel in Target data format
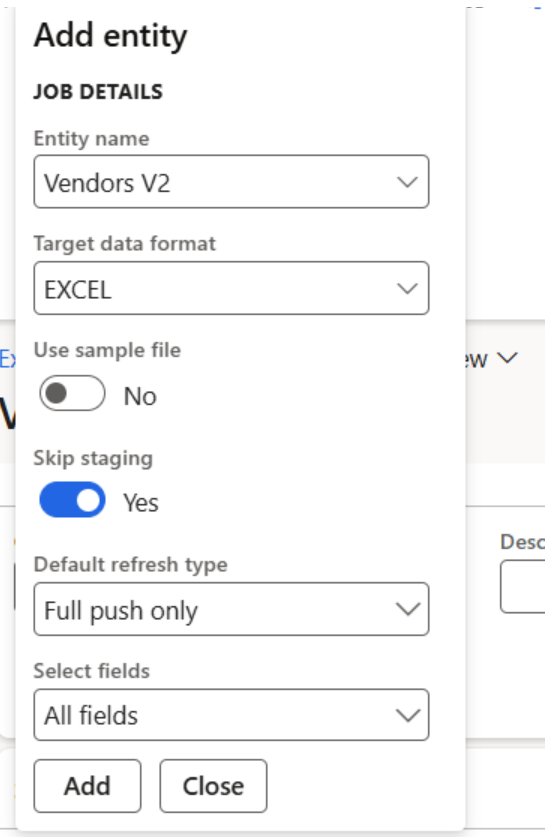
Click on Export now
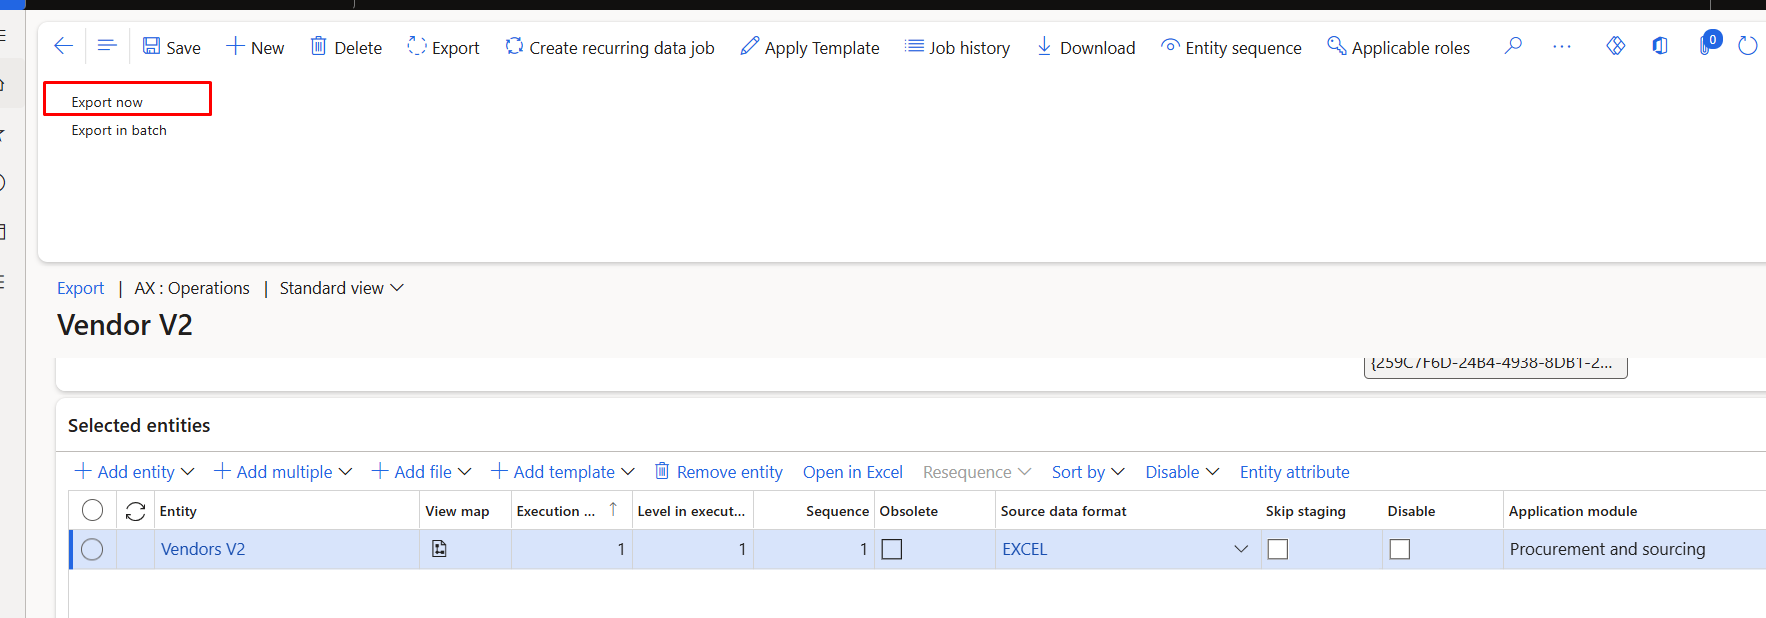

download excel by click on download excel file. Our excel template is ready.
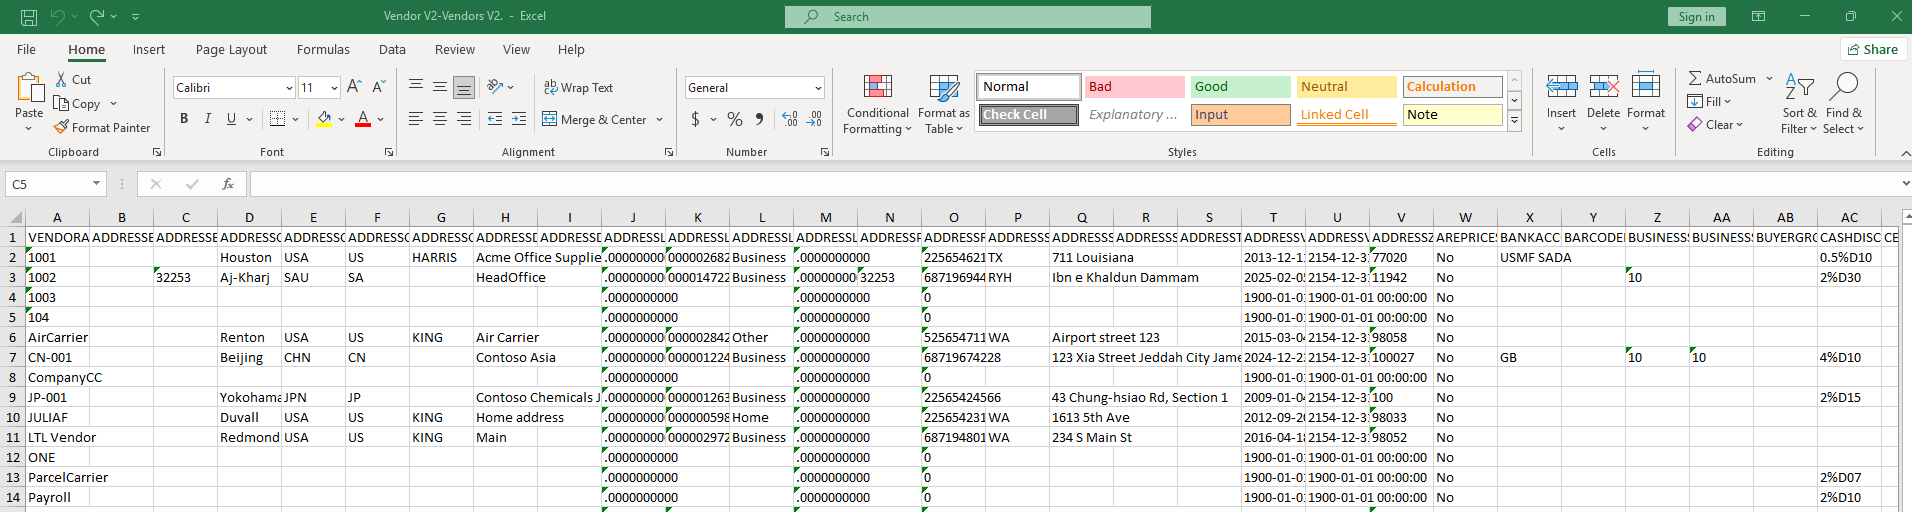
We can remove unnessary fields from here and remove existing data and add new vendor information in excel sheet.
When excel sheet is prepared click again on Data management workspace on import Title

Create a new group with Vendor Import v2

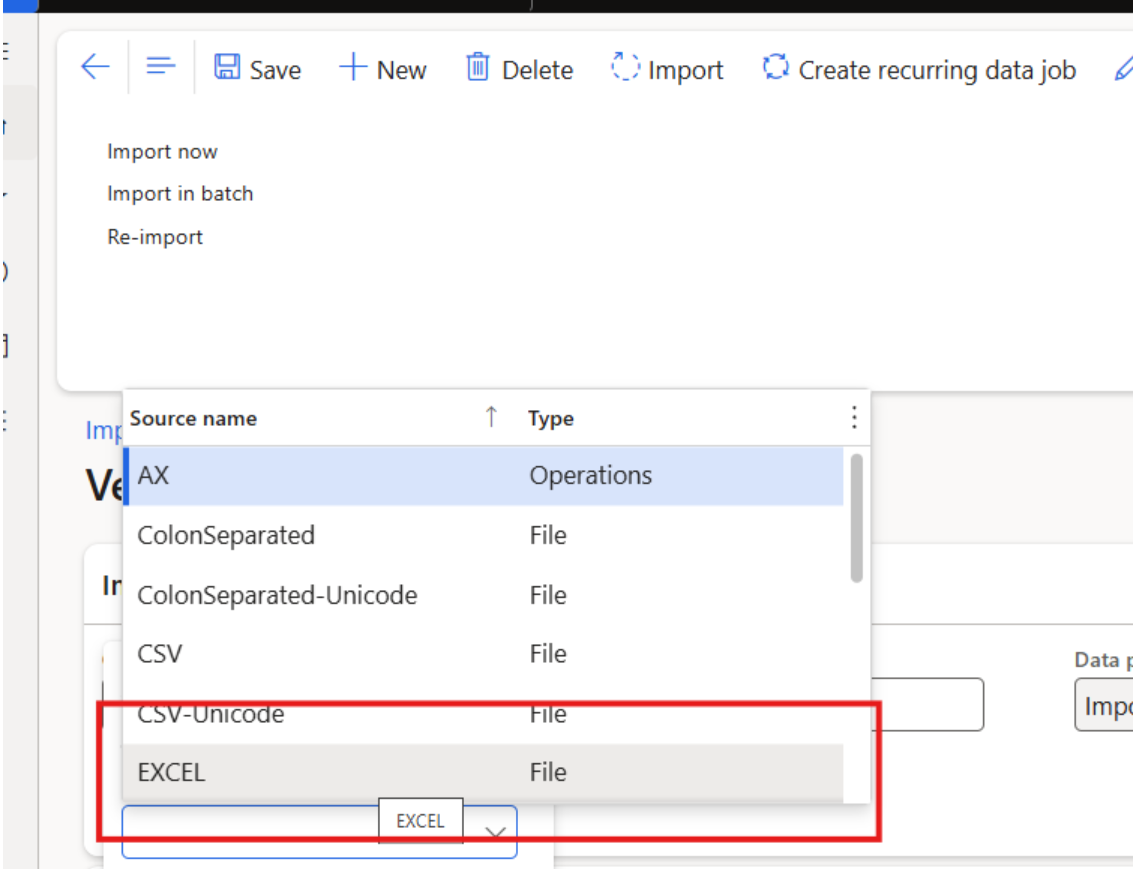
click on add file and select Excel
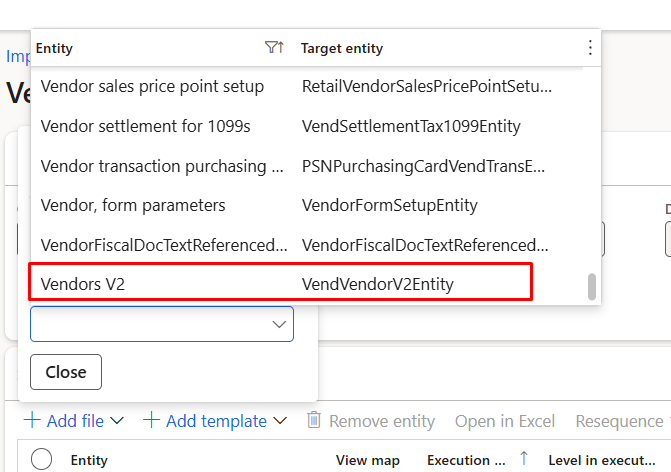
and then search and select vendor V2 from form entity Name.
select the file and upload
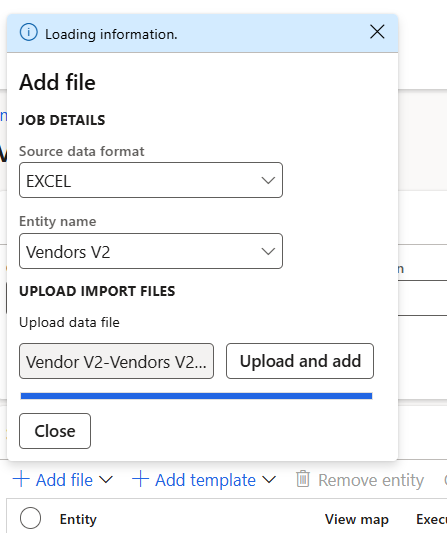
Load and upload modified excel sheet and click on close button.

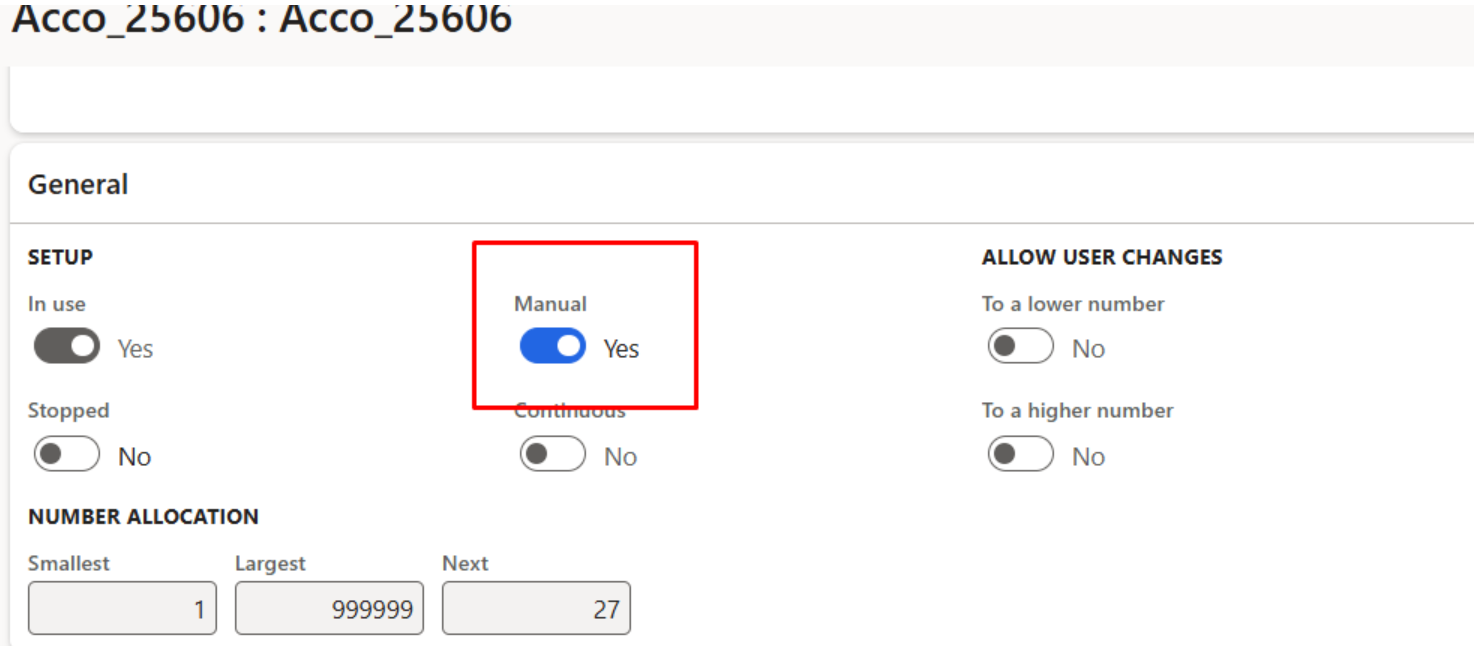
Before going to import go to vendor number sequence and set it manual and allow to a higher number.
And click on import
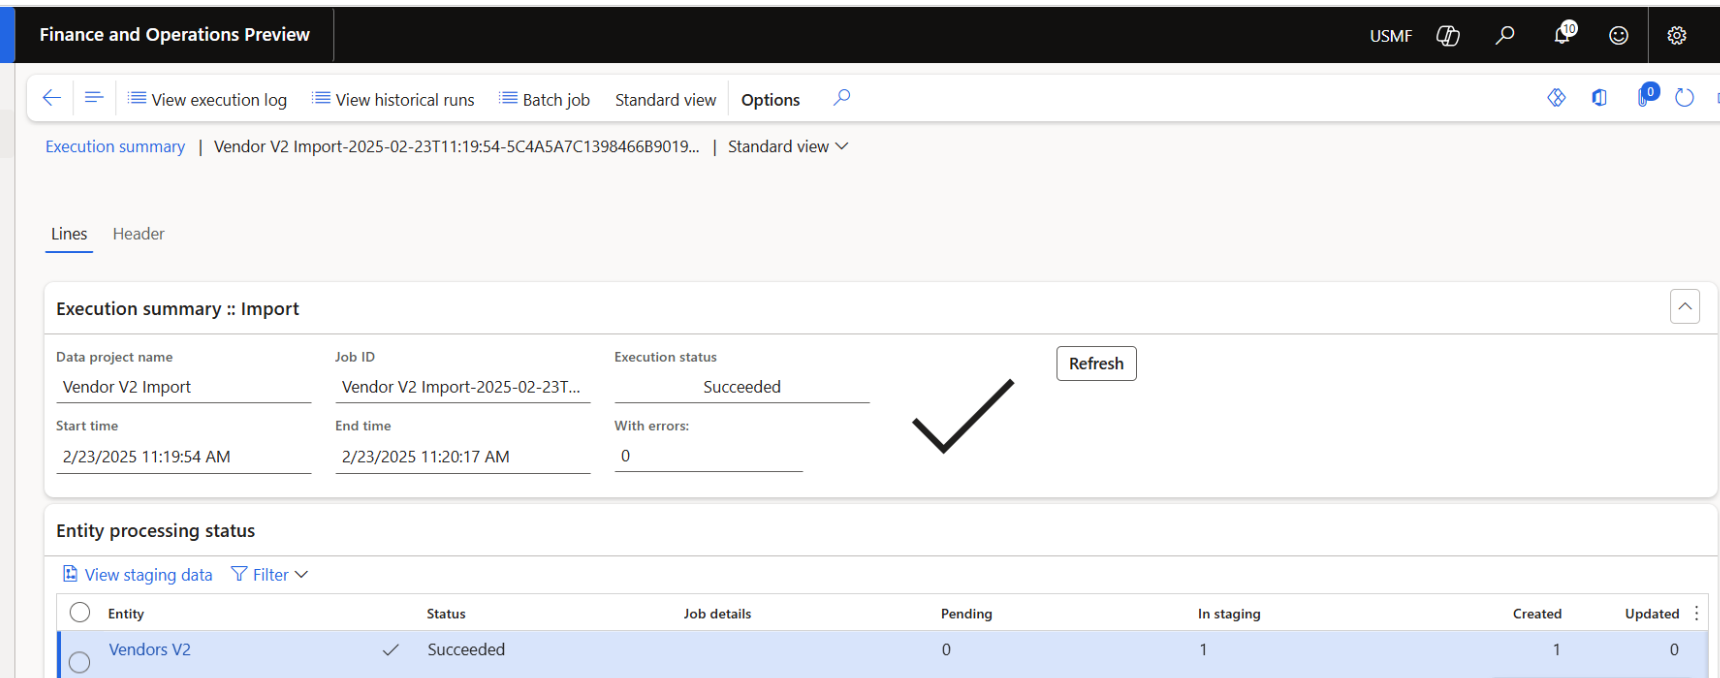
It is successful. If there are issue, then we try to resolve any validation issue. and try to import again.
![[Pasted image 20250223162113.png]]
Excel Addin
Using the Excel Add-in to Load Data into D365 F&O
Another efficient way to load data into D365 Finance and Operations (D365 F&O) is by using the Excel Add-in. This method allows users to import and update records directly from Excel, streamlining the data entry process.
Steps to Load Vendor Data Using the Excel Add-in
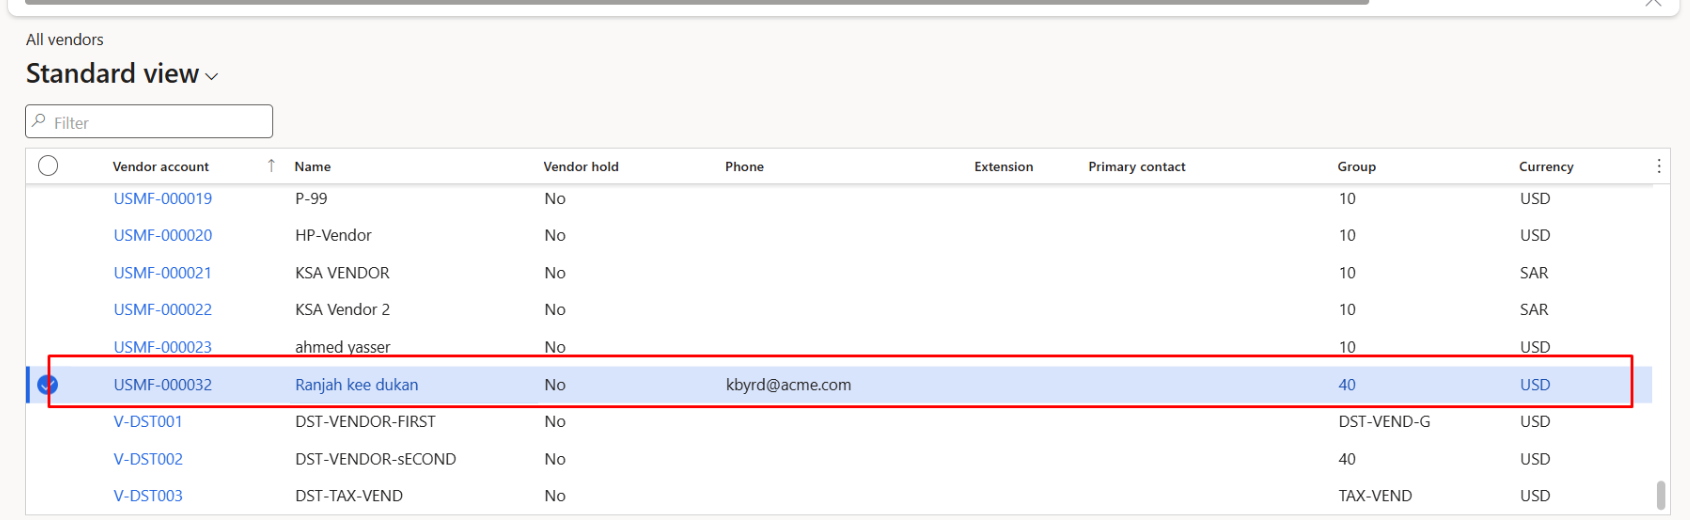
- Navigate to the Vendor List Page
- Go to Accounts Payable > Vendors > All Vendors.
- This page displays the list of all vendors in the system.
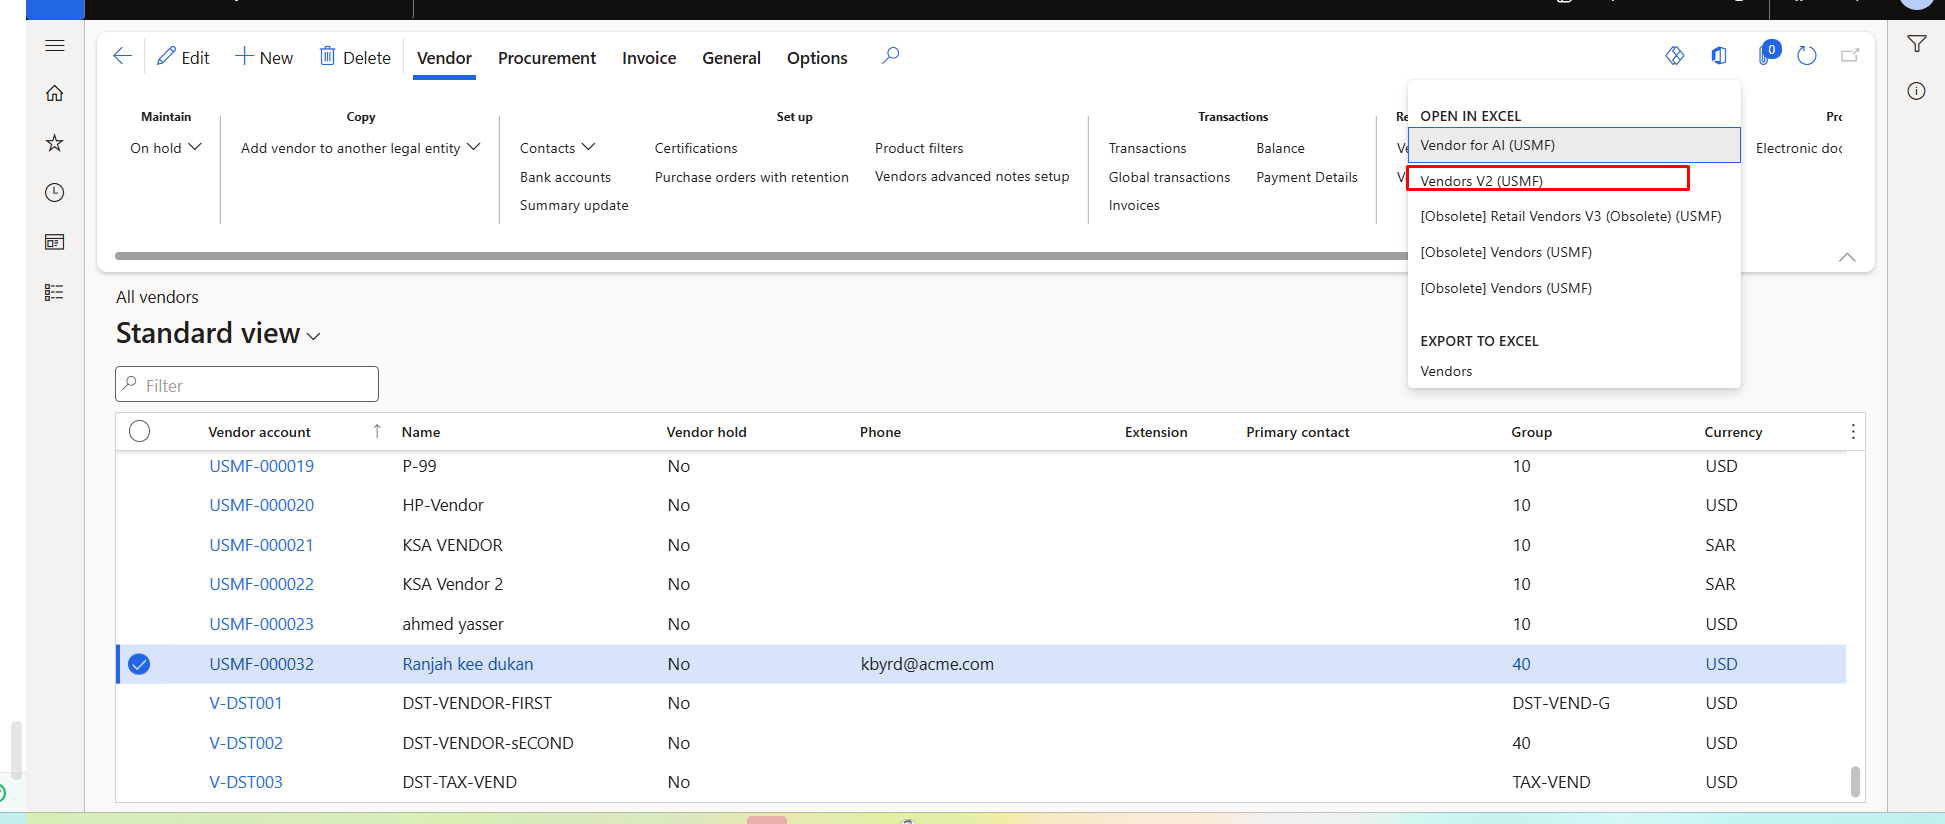
- Open the Excel Add-in
- Click on the Microsoft Office icon in the top-right corner of the screen.
- Select Vendor V2 under Open in Excel.

Work with the Excel Template
- The system will download an excel file with all required fields.
- Need to enable the Microsoft Dynamics Add-in if prompted.

Add new vendor and drag table boarder to new line save it
Publish the Data to D365
- Once the data is entered, click the Publish button in the Excel Add-in.
- The data will be validated and imported directly into D365 F&O.
click on publish

You can see the uploaded data into D365 F&O